sandblasting

The Weekend Course by Sasha Ward

West Dean weekend student work: 1. simple leading 2. simple but lots of pieces 3. soldering a less simple design.

The adult beginner’s weekend stained glass course is a bit of a rushed affair. There are so many stages to learn, including the most important one of how to design a simple stained glass window, something I like each student to do for themselves. I felt a sense of triumph on last weekend’s course at West Dean College (which will be the last weekend course I teach) as a student actually made a window that was really simple and easy to make, yet original (1 above left). As you can see, the creeping inaccuracy of the cutting meant that the glass pieces didn’t fit the paper pattern once leaded, but easy to cut means easy to trim down if you have to.

West Dean student work in progress: 4. work bench 5. round panel pieces cut  6. panel cemented but not cleaned.

Mostly the students don’t follow my advice to keep it simple and come armed with examples of the sort of organic or representational thing they want to make. It’s only as you make the stained glass panel that you understand the pitfalls, why some shapes are easy to cut but hard to lead, like the orange star burst which is being soldered at 3 top right. This means that it’s not the number of pieces that makes a design doable or not in a weekend, for example 2 top centre & 4 above right (which has over 40 pieces of glass) were both simple to make because of the leading pattern. The round panel (5 above centre) was only just doable for a beginner, but there is always the possibility of skipping the last stage and taking the cement in a bag to do at home, or taking the panel home dirty, like 6 above right.

West Dean student work with sandblasting: 7. paper plan wave 8. around the edges 9. butterfly antennae.

We don’t have the use of a kiln on this short course, but we do have a sandblaster which gives you a different way of adding detail. In 7. (above left) a wave has been added to give the much desired organic feel, linking the pieces with three lines. Painting, or drawing and sandblasting, across the lead lines is something else I find it hard to persuade students to do, you can see another example of linking pieces with sandblasting in the wobbly circles at 12 below right. Sandblasting a section around the edges of adjacent pieces was also effective in 8 above centre, giving the finished panel a chunky appearance that went well with the blocks of glass.

West Dean finished panels: abstract designs with curves and sandbalsting. 10, 11 & 12.

It’s great when a design that is supposed to represent something actually works. The butterfly (above right) is an obvious example, but the three landscape panels below are very satisfying. The river estuary that is both curvy and geometric (13), the palm tree that floats above its trunk (14) and the lighthouse (15) that is immediately recognisable but so subtle all provide a perfect end to my teaching of the weekend course.

West Dean landscape panels: 13. river estuary 14. palm tree 15. lighthouse.

Chelsea Flower Show by Sasha Ward

The pavilion of the SSAFA Sanctuary garden at Chelsea Flower Show 2022

It was exciting making a screen for a garden at The Chelsea Flower Show, a garden designed by Amanda Waring of Catfoot Garden Design, for the armed forces charity SSAFA and destined to move to a space in their rehabilitation facility at Norton House in Leicestershire. The excitement was put on hold for two years as 2000’s show was cancelled and 2001’s moved to the autumn, while the first 20 odd pages of my black and white design lay in a drawer, unresolved and uncertain of completion.

Design development, 2020 - 2022

Final design drawing

The screen consists of five acrylic panels around a corner of the pavilion, they are there to mask the view rather than to block it out. The design is sandblasted on both sides of the acrylic, in some lights the sandblasting looks white, in others it looks dark. It was always hard to imagine how the panels would look installed under the pavilion roof, so I concentrated on getting the right feel for the design - something cloudy and sparkly to compliment the planting rather than illustrate it. The drawing above is the first one I was happy with, then used as the basis for lots of sandblasted acrylic samples. The design is a repeat, rotated on panels 2 and 4, and with different cloud shaped sections marked out on the front of the acrylic, while the rest is sandblasted on the back, as shown in the strip below. You can see how the overlaps work in the photos (below) that show the work in progress and finally taken out into the light where the clear lines sparkle and show the colours of the garden behind.

Design drawing repeated, rotated and marked out.

Work in progress, cutting the template, sandblasting and detail of completed acrylic panel.

Close up of the panels installed in the pavilion.

The panels fitted in the pavilion and helped give the illusion of the floating triangular roof above, looking good with the planting and the outline of the Royal Hospital behind. I like the view behind the panels - as there is more light on their surface you can really see whether the cloudy shapes are on the back or the front (below). I was sent some photos of unexpected light effects, with shadows in the morning and a complimentary orange sky in the evening (bottom). When it rains the sandblasting disappears, but I get the feeling that a lot of people didn’t notice it at all anyway. That’s not a bad thing in the Chelsea context, where I found so many of the structures and ornamental details in the other gardens to be ugly and intrusive on the planting. This is a place where the essence of good design may well be that you don’t notice it.

Back of the panels in the pavilion.

Shadows through the acrylic, orange sky at sunset.

New Window by Sasha Ward

Left, window before the stained glass. Right, melting glass in the kiln.

I have just installed a new window, the first one that uses the slab glass that I’ve been melting down in my kiln (above right). I’d put some of the pieces too close together so that they touched and fused together during the firing. These pieces happened to be the same combination of colours, peach and pale yellow, and when I put them next to each other they made a slightly butterflyish pair which became the basis for the new window design (below). From there, the window practically designed itself, the different sized and coloured pieces are arranged so they look as if they float up to the top.

Window design - Left, arranging the glass. Right, glass laid on top of the design.

Left, background pieces cut. Right, background pieces sandblasted.

The background is a blue green enamel, the colour of the edges of float glass, which I sandblasted off to create a halo around each coloured slab (above right). I then painted an approximation of each glass slab colour in enamel around each piece and in a ring over the blue green background (below), you get some unexpected results where the two colours of enamel overlap.

Details from top and bottom showing background pieces painted and fired.

New window installed, 1150 x 400 mm.

The new window (still without a title) looks good in its space, and according to its owner, as if it had always been there. People have said they are reminded of pairs of glasses, but as you can see in the detail below, the slabs are opaque and textured often with a block in the centre that is a record of the size of the original slab. The backgrounds are transparent, apart from the top which I’ve sandblasted to hide the eaves and the centre piece which covers the glazing bar - a feature of the original window which bothered me, but which has now become a vital part of the design.

Adding without ruining by Sasha Ward

Windows made from scrap pieces of glass are a stained glass staple. In churches old pieces are leaded together in a different formation to make new windows, and in my own work I have always used offcuts, samples and broken pieces to make patterned windows, patchwork style. However, most of the samples I make for larger commissions are on thicker glass with large scale designs, not great for chopping up but ideal as the first layer in a new piece of work.

Experiment 1 with drawing and collage on top, 500 x 260 mm

Experiment 1 with drawing and collage on top, 500 x 260 mm

Experiment 1 (above and below) started with a leftover computer cut stencil from a large scale project which I stuck on an old piece of float glass to try out a coarse sandblasting grit. The first bit of enamelling, the red and purple on the left, was another leftover, this time from a bit of very runny spray painting. After firing the effect was so nice that I added another layer, or maybe two, of hand painted enamel enjoying the way that the grainy texture on the glass affected the colours. I spent a long time after these unphotographed stages drawing, collaging and photoshopping to find shapes that would add to the composition, hiding the muddled sections, keeping the best parts and not ruining what I already had.

I like the finished piece so much that it’s still in my studio window months later. The four narrow windows that I added to the design were sandblasted out, then each filled with a different enamel colour with a lot of flux in the mix to make them very pale. What was underneath slightly comes through and the new enamel colours perfectly compliment the ones that were already there.

Experiment 1 completed and detail.

Experiment 1 completed and detail.

Experiment 2 in the window and on the light box, 470 x 450 mm

Experiment 2 in the window and on the light box, 470 x 450 mm

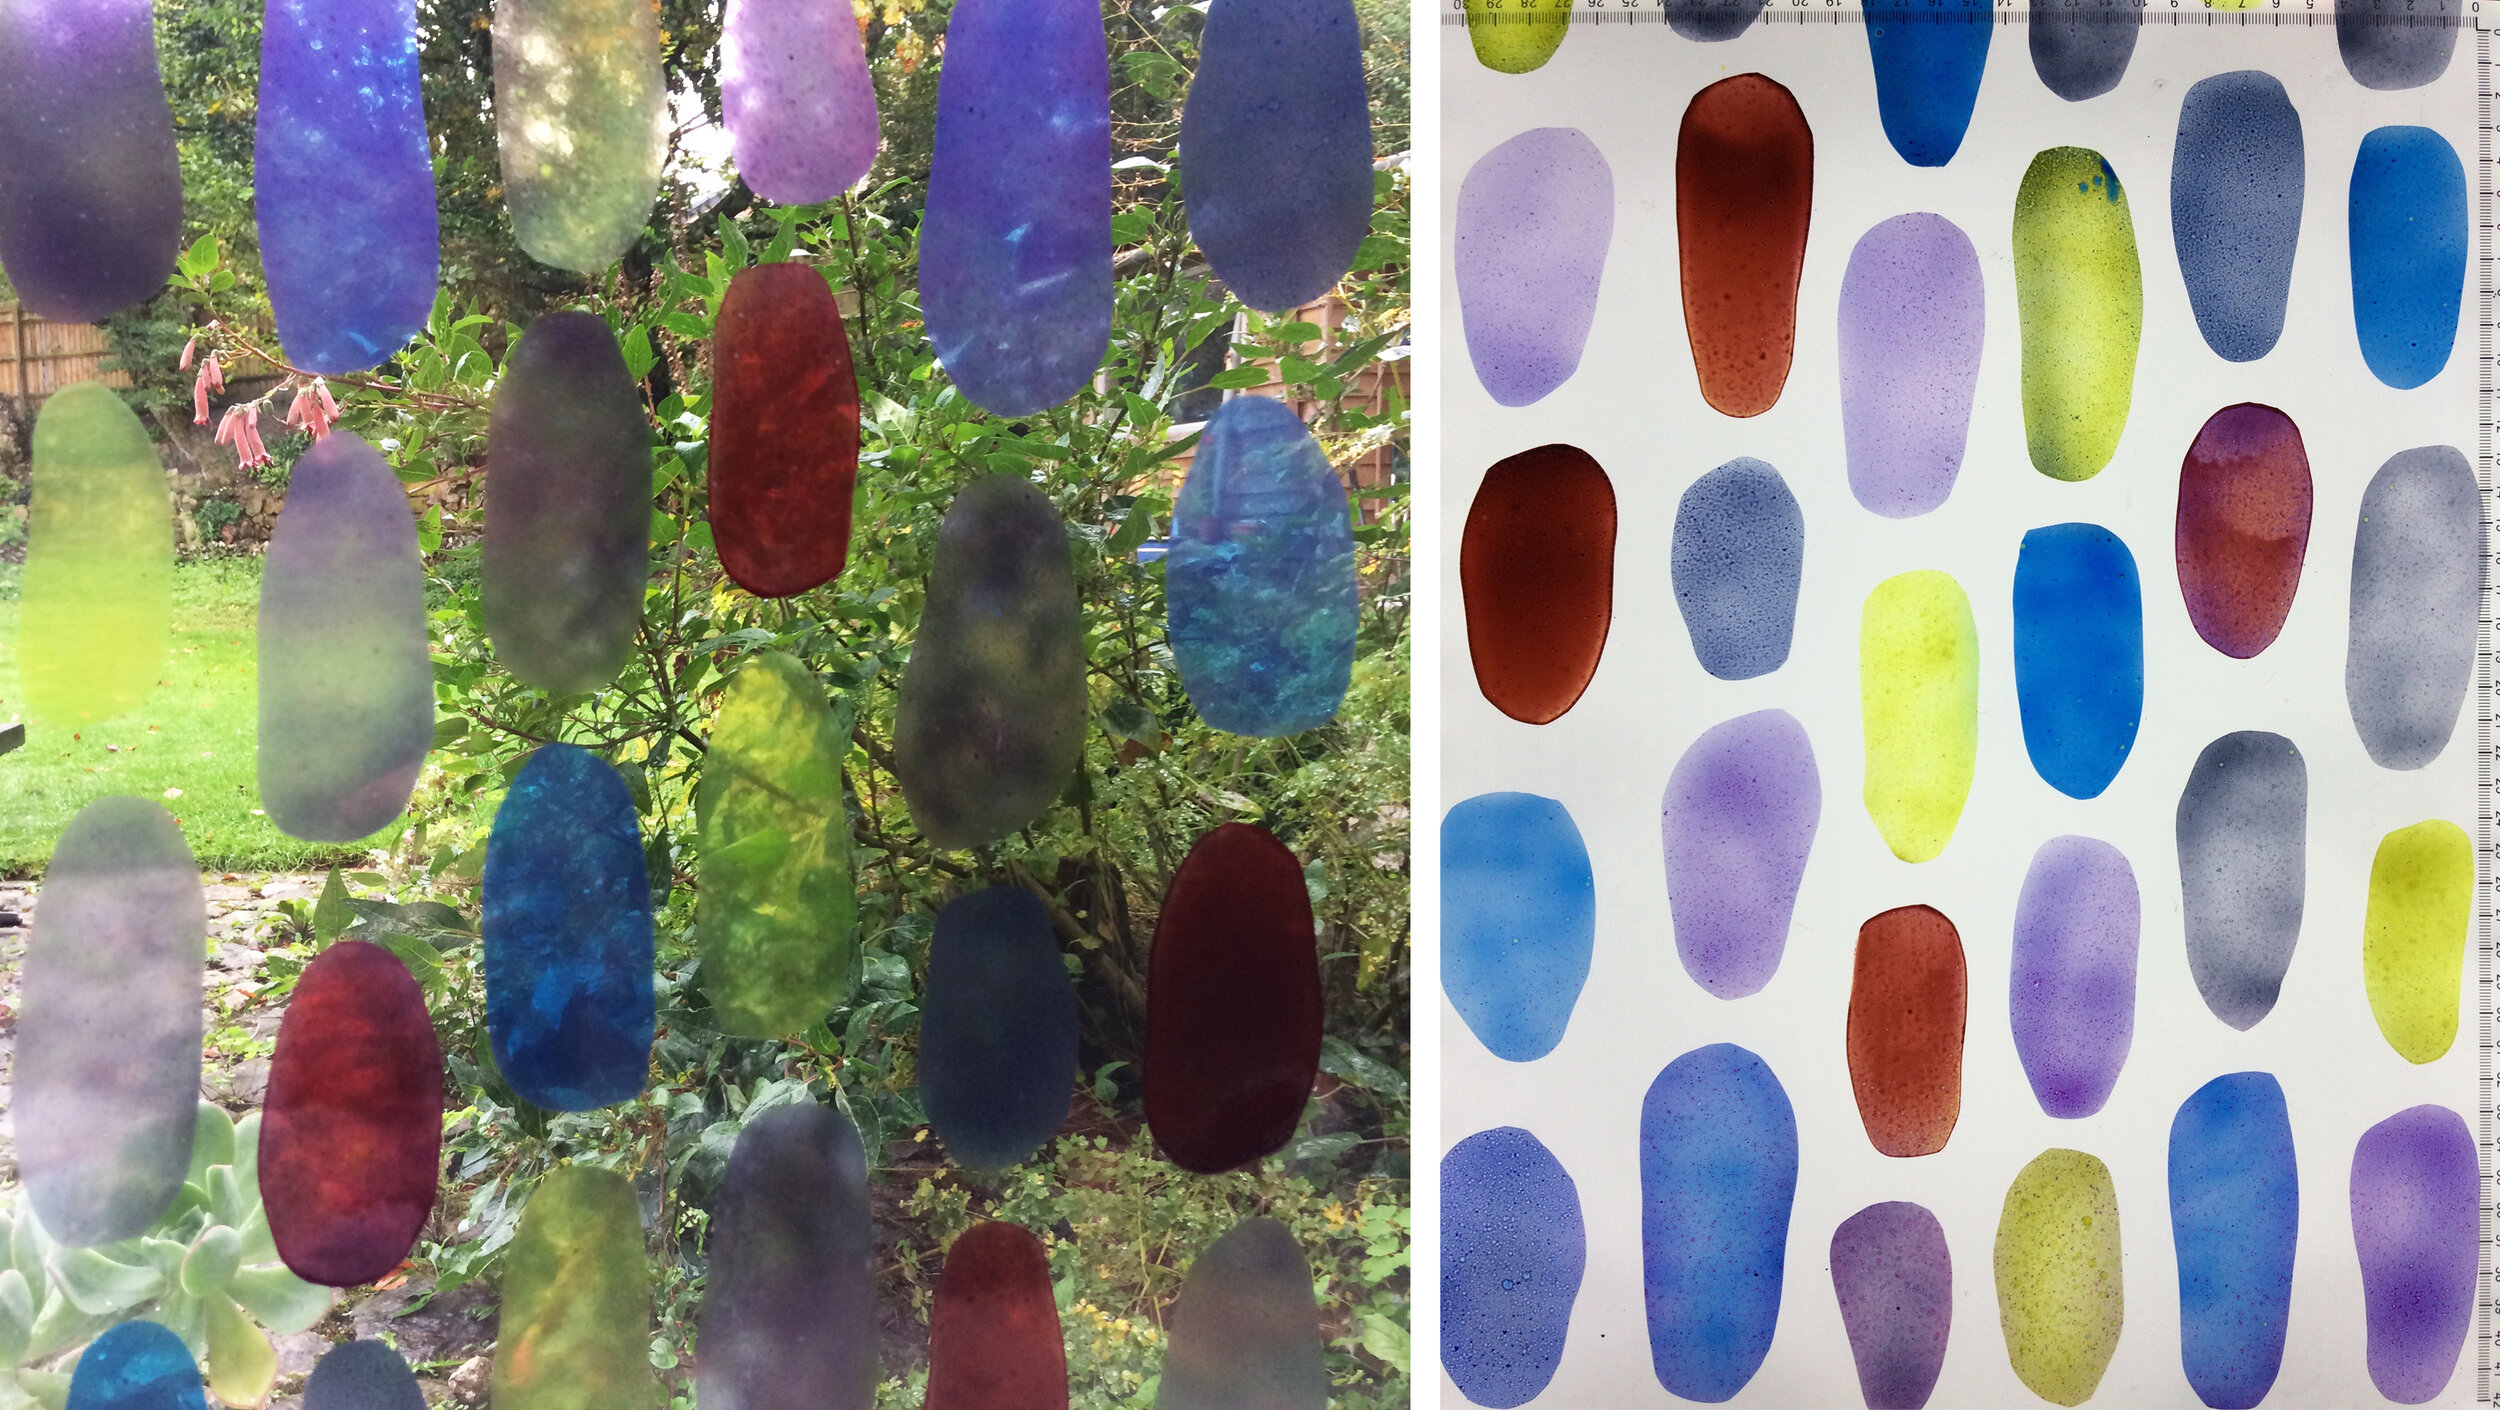
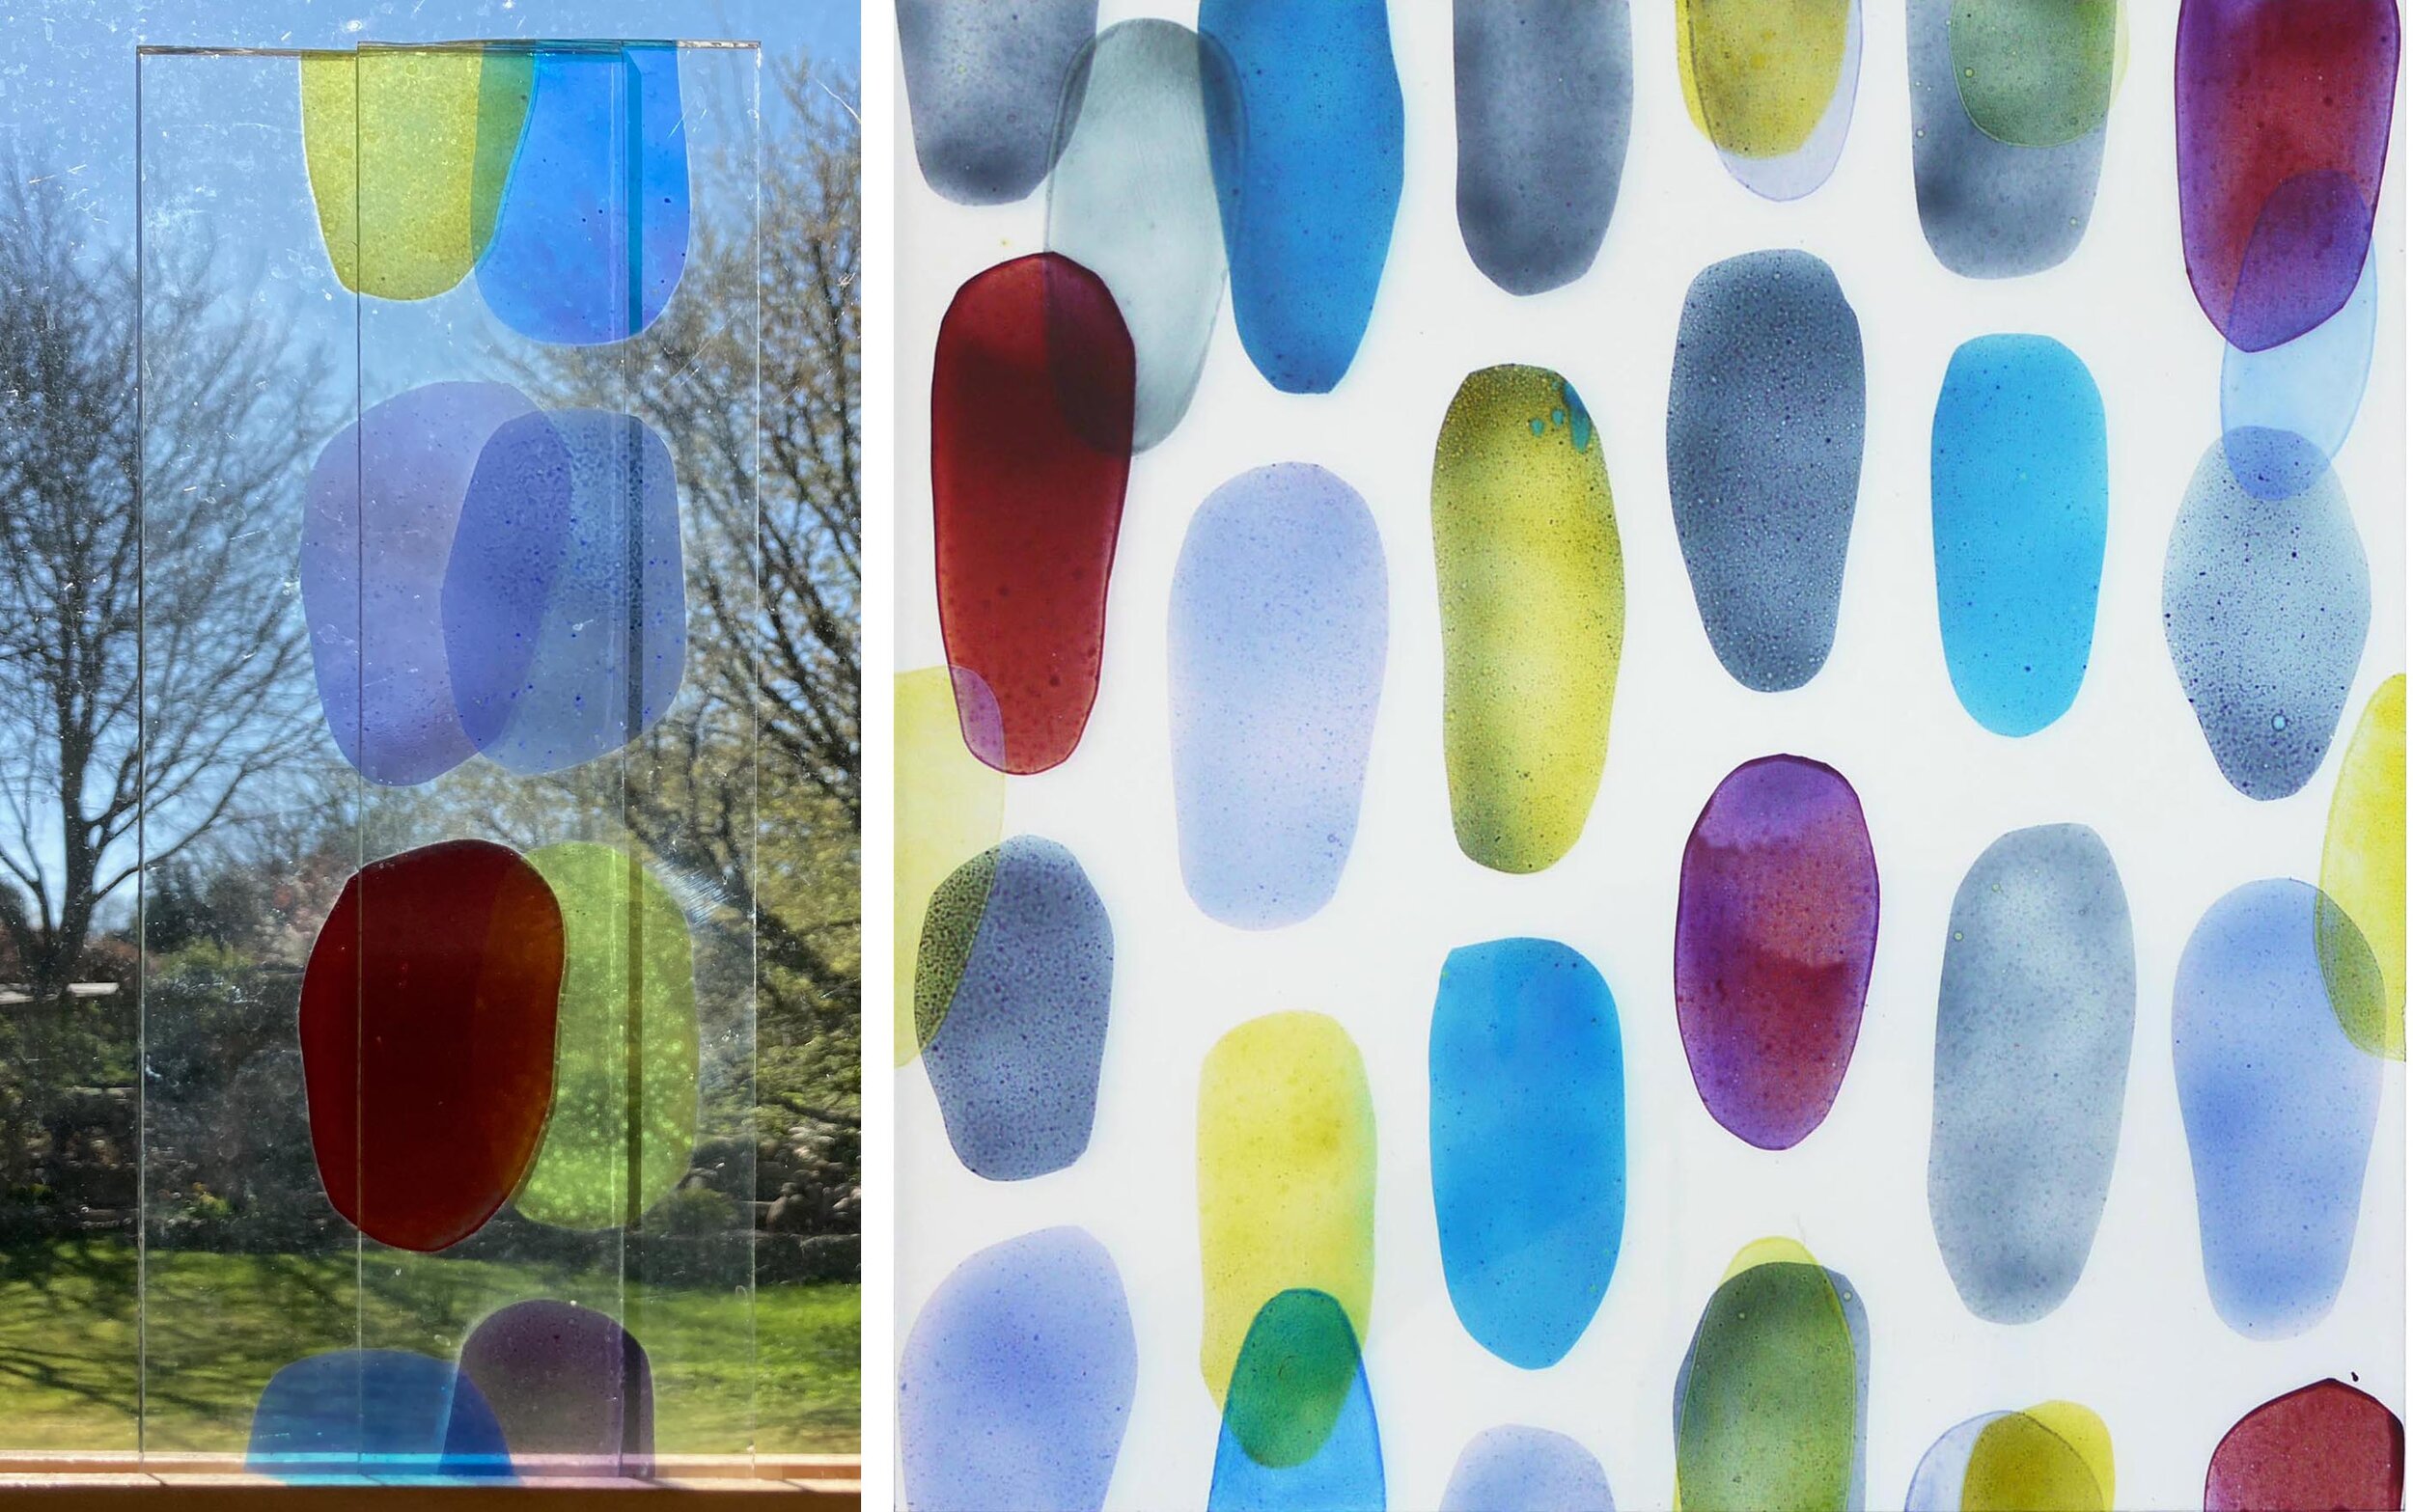
Experiment 2 (above and below) presented a different set of challenges. I had a large piece of glass where I’d tried out old glass enamels in rough ovals, there were some lovely qualities in the different enamel mixes but no overall shape to the composition. I decided to use it as the first layer of a new piece, 300 mm square, for the online exhibition of work by members (I’m a new one) of the British Society of Master Glass Painters as these marks and colours seemed to celebrate the joy of glass painting. I spent an even longer time on the next stage of this one, planning patterns around the shapes and additions to them inspired by the effect of the overlapping offcuts in my window (below left).

I know by now not to rush into things, I was very conscious that I mustn’t ruin the piece by interrupting the stillness at its centre. Instead I thought about the concept of tessellation and added more ovals where they were needed to make the tile roughly tessellate while creating just a few areas of overlapping colour. It looks much better on its own than when I did tesselate it as you can see below.

Experiment 2: Left, overlapping pieces.  Right and below, turned into a tessellating tile.

Experiment 2: Left, overlapping pieces. Right and below, turned into a tessellating tile.

blob 3.jpg

Here is a link to lots of great contemporary stained glass squares in the exhibition on the BSMGP website.

Interpretation by Sasha Ward

Drawing on grey card by Ray Ward 2019, 840 x 590 mm

Drawing on grey card by Ray Ward 2019, 840 x 590 mm

With projects put off during lockdown, I’ve turned to something I’ve been wanting to do for ages - that is the interpretation of one of Ray’s black and white drawings in stained glass. People have often suggested this would work, and the narratives in his recent series of large drawings do remind me of some of the things I really like about medieval stained glass. Thinking of those panels that tell a story, I chose the drawing above, where there’s a lot going on, for my first try.

Bottom section of Ray’s drawing with blacks and whites reversed.

Bottom section of Ray’s drawing with blacks and whites reversed.

I decided to make the glass panel square and quite small - about half size. I knew I wanted to do the three foreground figures in dark red flashed glass with the lines sandblasted out and the other colours followed from there (below left). I was pretty pleased as the first few pieces came through the painting and sandblasting processes (below right), but then things started getting over complicated.

Left, coloured glass pieces cut: Right, some of the pieces after firing and sandblasting

Left, coloured glass pieces cut: Right, some of the pieces after firing and sandblasting

Left, all the pieces after firing and sandblasting. Right, version 1 finished

Left, all the pieces after firing and sandblasting. Right, version 1 finished

I finished the panel (above). I’d removed all the shadows from the original drawing as well as the figure squished in between the front three and had put the seated figure on a little bit of pink glass. I also thought the trees would make a good decorative border. I finished the panel and thought I’d sleep on it before chucking it in the bin. The next morning, Ray agreed “It wasn’t up to my usual high standards”, so I took off all the bits I couldn’t stand and replaced them with nice bits of dark grey streaky glass.

Version 2 finished, 280 x 260 mm, shown in the window in natural light.

Version 2 finished, 280 x 260 mm, shown in the window in natural light.

Conclusions:

  1. If in doubt use dark grey glass

  2. Simplify even more than you think you need to

  3. It’s easy to do a good bit of detail, but getting the composition right is hard.

Detail of version 2 shown on the lightbox (which is very scratched).

Detail of version 2 shown on the lightbox (which is very scratched).